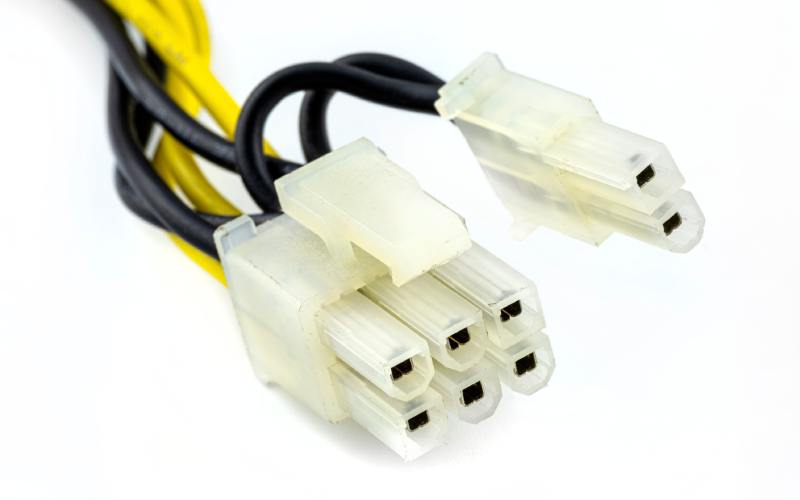
Troubleshooting Poor Contact in 6-Cavity Plugs
Poor electrical connections can quickly shut down your operations. When you need to troubleshoot poor contact in 6-cavity plugs, every minute of downtime costs money and productivity. That’s why you need solutions that work the first time, not guesswork that leaves you scrambling.
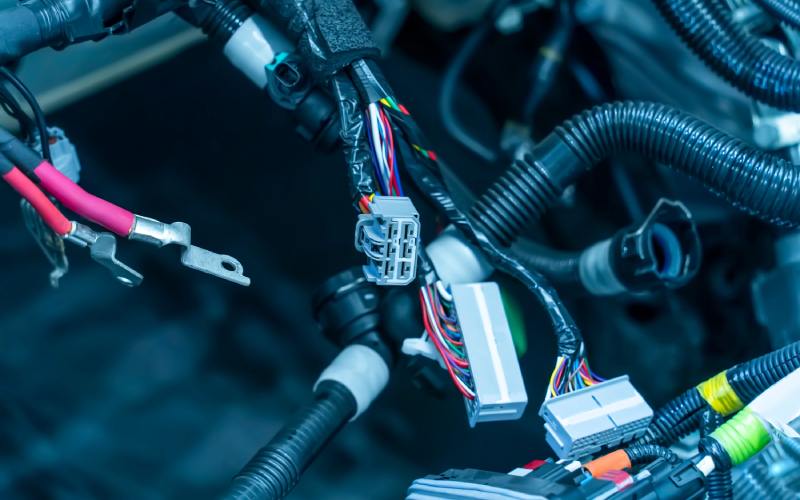
6-cavity plugs are workhorses in industrial and automotive applications, but they’re also prone to contact issues that can frustrate even experienced technicians. The good news is that most contact problems follow predictable patterns, and with the right approach, you can diagnose and fix them efficiently.
This guide cuts through the complexity and gives you a systematic approach to identifying and resolving contact issues. You’ll learn the most common failure points, the tools you’ll need, and the step-by-step process that’ll get your systems back online quickly.
Contact Failure Patterns
Contact failures in 6-cavity plugs typically stem from three primary sources: mechanical degradation, environmental contamination, or installation errors. Each type presents distinct symptoms that can guide your troubleshooting approach.
Mechanical degradation occurs when repeated insertion and removal cycles wear down the contact surfaces. You’ll notice this as intermittent connections that worsen over time, particularly under vibration or thermal cycling. The contact spring tension weakens, reducing the force needed to maintain electrical continuity.
Environmental contamination introduces foreign materials that interfere with proper contact engagement. Dust, moisture, oils, and chemical residues create barriers between mating surfaces. This contamination often presents as gradually increasing resistance rather than complete failure.
Installation errors create immediate or early-life failures. Improper crimping, incorrect wire gauge selection, or damaged contacts during assembly lead to poor connections from the start. These issues typically show consistent patterns across multiple cavities rather than random failures.
Initial Visual Inspection Procedures
Start your diagnosis with a thorough visual inspection before touching any tools. Remove the plug from its mating connector and examine each cavity under good lighting. Look for obvious signs of damage, corrosion, or contamination that could explain the contact issues.
Check the contact retention system first. Properly seated contacts should be flush with the plastic housing and show no signs of backing out. Contacts that appear recessed or protruding indicate retention problems that can cause poor electrical connection regardless of other factors.
Examine the contact surfaces for discoloration, pitting, or foreign material buildup. Healthy contacts maintain their original metallic finish, while problematic ones show signs of arcing, corrosion, or contamination. Pay particular attention to the contact engagement area where the mating surfaces meet.
Inspect the wire terminations at each contact. Proper crimp connections show consistent compression with no visible wire strands outside the crimp barrel. Poor crimps often display uneven compression, exposed copper, or signs of pullout under stress.
Contact Resistance and Continuity Testing
Accurate measurement separates good contacts from marginal ones that will fail under load. Use a digital multimeter capable of measuring resistance in the milliohm range for meaningful results. Standard multimeters often lack the resolution needed to detect contact degradation before it becomes a major problem.
Set up your measurement system to test each cavity individually. Connect your multimeter leads to the contact pin and the corresponding wire termination, ensuring you’re measuring the complete current path. Record baseline resistance values for comparison during future inspections.
Perform continuity tests under mechanical stress to simulate real-world conditions. Gently flex the wire bundle while monitoring resistance readings. Stable contacts will maintain consistent values, while degraded ones might show fluctuating readings that indicate intermittent connection issues.
Test contact engagement force using appropriate gauge pins or the actual mating connector. Properly functioning contacts should engage with noticeable resistance and maintain connection under reasonable pulling force. Weak engagement often indicates worn contact springs or improper installation.
Cleaning and Restoration Techniques
Contaminated contacts often respond well to proper cleaning procedures when the underlying contact structure remains intact. Select cleaning methods based on the type of contamination and contact plating material to avoid causing additional damage during restoration.
Use electrical contact cleaner for general contamination removal. Apply the cleaner to a clean, lint-free cloth rather than spraying it directly onto the contacts. This controlled application prevents the cleaner from migrating into areas where it could cause problems with plastic components or wire insulation.
Address corrosion with appropriate chemical treatments matched to the specific type of oxidation present. Light surface oxidation often responds to contact cleaner alone, while heavier corrosion may require specialized products designed for the specific plating material involved.
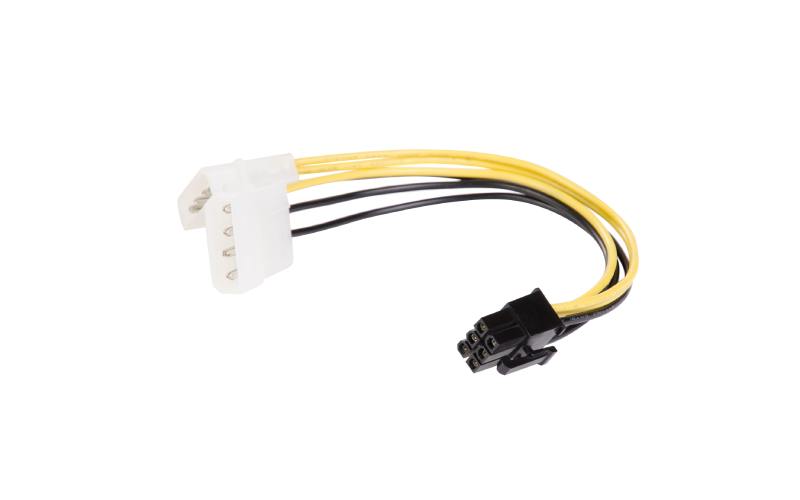
Clean contact retention areas thoroughly to ensure proper seating after reassembly. 6-wire pigtail connector applications particularly benefit from attention to these details since the additional wire management complexity can mask retention problems. Remove any plastic debris or foreign material that could prevent contacts from seating completely.
Contact Replacement and Repair
When cleaning fails to restore acceptable performance, contact replacement becomes necessary. Source replacement contacts from approved suppliers to maintain compatibility with your specific plug design and application requirements.
Remove damaged contacts using the appropriate extraction tools for your connector type. Avoid improvised tools that can damage the plastic housing or adjacent contacts. Purpose-built extraction tools engage the contact retention mechanism properly and allow clean removal without collateral damage.
Install new contacts, paying attention to proper crimping techniques and wire preparation, and strip wire insulation to the exact length specified for your contact type. Too little exposed conductor creates poor electrical connection, while too much creates insulation displacement problems and potential short circuits.
Verify proper contact seating using appropriate gauge pins or depth measurements. Newly installed contacts should seat to the same depth as properly functioning contacts in adjacent cavities. Inconsistent seating depths often indicate installation problems that will cause future failures.
Prevention Strategies
Prevention costs far less than emergency repairs and unplanned downtime. Establish regular inspection intervals based on your application’s operating environment and usage patterns. High-vibration or temperature cycling applications require more frequent attention than static installations.
Document your findings during each inspection to track degradation patterns over time. This historical data helps predict when preventive replacement becomes more cost-effective than continued maintenance. It also identifies systematic problems that might require design changes or upgraded components.
Train your maintenance personnel on proper handling and inspection techniques specific to your connector types. Many contact problems result from improper service procedures rather than normal wear. Investment in proper training and tools pays dividends in the form of reduced failure rates and shorter repair times.
Restoring Reliable Operation
Troubleshooting poor contact in 6-cavity plugs requires systematic diagnosis, appropriate tools, and attention to detail during repairs. The techniques outlined here will help you identify problems quickly and implement lasting solutions that minimize downtime.
Remember that contact problems rarely occur in isolation. When you find issues in one cavity, inspect the remaining cavities thoroughly since they’ve experienced similar operating conditions. This comprehensive approach prevents repeat service calls and builds confidence in your electrical systems.