How To Test 2-Cavity Connectors for Continuity
Testing electrical connections demands precision and the right approach. When you’re working with 2-cavity connectors, proper continuity testing becomes critical for ensuring reliable performance and preventing costly failures down the line. These compact connectors handle essential electrical pathways in countless applications, from automotive systems to industrial equipment.
You need to understand the fundamentals of continuity testing before diving into connector-specific procedures. Continuity testing measures whether electricity can flow through a complete circuit path. When testing connectors, you’re verifying that each cavity maintains proper electrical connection and that no unwanted connections exist between cavities.
The process requires methodical attention to detail and the right testing equipment. Skip steps or use improper techniques, and you’ll miss critical faults that could lead to system failures. Master these testing procedures, and you’ll catch problems before they become expensive headaches.
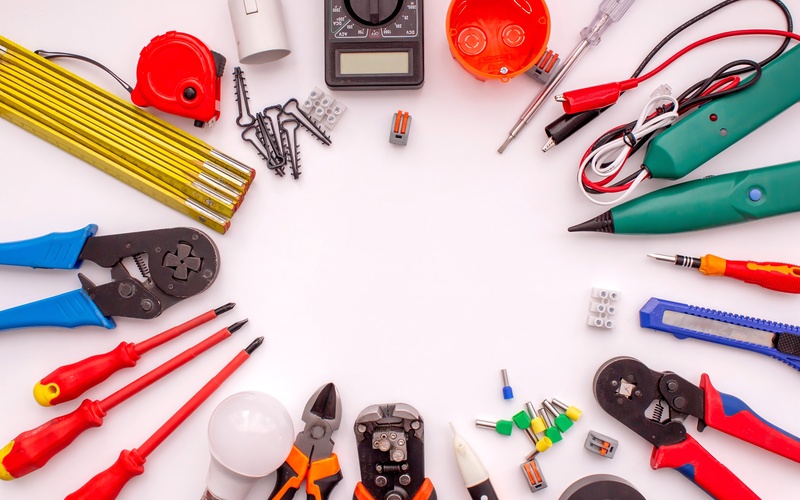
Essential Equipment for Connector Testing
Your testing setup determines the accuracy and efficiency of your continuity checks. Start with a quality digital multimeter capable of measuring resistance in the ohm range. The meter should provide clear readings down to 0.1 ohms for detecting high-resistance connections that might cause problems later.
Wire probes with sharp, clean tips ensure solid contact with connector terminals. Dull or corroded probe tips can create false readings and waste your time. Keep backup probes available since tip wear occurs with regular use.
Consider investing in specialized connector test leads designed for your specific connector types. These leads eliminate guesswork about proper contact points and reduce testing time significantly. Standard test leads work, but specialized equipment pays for itself through improved efficiency.
Documentation materials keep your testing organized and compliant. Whether using paper forms or digital recording systems, consistent documentation helps track connector performance over time and identifies patterns in failure modes.
Connector Preparation for Testing
Proper preparation sets the foundation for accurate test results. Begin by disconnecting the connector from all power sources and related circuits. Never attempt continuity testing on energized circuits, as this damages your test equipment and creates safety hazards.
Clean connector terminals thoroughly using appropriate contact cleaners or isopropyl alcohol. Contamination, corrosion, and debris create false resistance readings that mask actual connection quality. Pay special attention to female terminals where debris commonly accumulates.
Inspect connector housings for cracks, deformation, or other physical damage. Damaged housings affect terminal positioning and contact pressure, leading to intermittent connections that continuity testing might miss during static checks.
Record connector identification numbers, wire colors, and terminal positions before starting tests. This documentation proves invaluable when interpreting results and communicating findings to others working on the same systems.

Step-by-Step Continuity Testing Process
Testing 2-cavity connectors for continuity starts with systematic verification of each circuit path. Set your multimeter to the lowest resistance or continuity range, typically marked with a diode symbol or audible indicator function.
Connect your test leads to the first terminal pair you want to verify. Place one probe on the terminal at the connector end and the other probe on the corresponding wire or terminal at the opposite end of the circuit. A good connection typically shows resistance below 1 ohm, though specifications vary by connector type and wire length.
Record the resistance value for each connection. Consistent documentation helps identify trends and provides baseline measurements for future comparisons. High resistance readings indicate poor connections that require attention.
Test each cavity systematically, working through all intended circuit paths. Don’t rush this process, as missed connections create troubleshooting challenges later. Verify that your test probes maintain solid contact throughout each measurement.
Check for unwanted connections between cavities by testing resistance between terminals that should remain isolated. These cross-connections, often called shorts, cause circuit malfunctions and component damage. Any reading below infinite resistance between isolated terminals indicates a problem requiring investigation.
Test Results Interpretation
Understanding your measurements requires knowledge of acceptable resistance ranges for your specific application. Most 2-wire connectors should show near-zero resistance for intended connections and infinite resistance between isolated circuits.
Resistance readings between 1 and 10 ohms suggest developing connection problems. These marginal connections often work initially but fail as temperature, vibration, and time take their toll. Address these findings proactively rather than waiting for complete failure.
High resistance readings above 10 ohms typically indicate serious connection problems requiring immediate attention. Possible causes include loose terminals, corrosion, damaged wires, or improperly seated connectors.
Intermittent readings that change during testing reveal loose connections or damaged wires. These problems prove particularly troublesome since they create unpredictable system behavior. Mark these connections for immediate replacement or repair.
Troubleshooting Common Issues
Terminal contact problems account for most continuity test failures. Loose terminals result from improper crimping, terminal damage, or connector housing issues. Remove and inspect terminals showing high resistance, checking for proper crimp formation and adequate contact pressure.
Corrosion creates high-resistance connections that worsen over time. Light corrosion responds to proper cleaning techniques, but heavily corroded terminals require replacement. Don’t attempt to salvage terminals with significant corrosion damage.
Wire breaks near connector terminations often produce puzzling test results. These breaks may maintain intermittent contact that shows acceptable resistance during static testing but fail under movement or vibration. Inspect the wire condition carefully near termination points.
Cross-connections between cavities usually result from damaged connector housings, improperly installed terminals, or contamination. Isolate the source by testing various combinations of terminal pairs and inspecting the connector internals.
Advanced Testing Techniques
Temperature cycling reveals connection problems that standard testing misses. Heat connections to operating temperature, then cool to ambient conditions while monitoring resistance. Connections that show significant resistance changes during temperature cycling require attention.
Vibration testing during continuity checks simulates real-world operating conditions. Gently flex connector housings and wire harnesses while monitoring resistance readings. Connections that show intermittent behavior during movement testing will likely fail in service.
Load testing applies controlled current through connections while measuring voltage drop. This technique identifies connections that pass basic continuity tests but fail under actual operating conditions. Use appropriate current levels based on circuit specifications.
Documentation and Record Keeping
Comprehensive documentation transforms individual test results into valuable system knowledge. Record connector locations, test dates, measured values, and any corrective actions taken. This information helps you identify failure patterns and plan preventive maintenance.
Create standardized forms or digital records that capture essential information consistently. Include space for technician notes about unusual findings or special conditions affecting test results.
Maintain historical records showing connector performance trends over time. This data helps you predict when preventive replacement becomes cost-effective compared to reactive maintenance approaches.

Moving Forward With Confidence
Testing 2-cavity connectors for continuity requires a systematic approach, proper equipment, and attention to detail. Master these techniques, and you’ll catch connection problems before they cause system failures. A methodical testing approach protects equipment, reduces downtime, and builds a reputation for thorough professional work.
Implement these procedures as part of regular maintenance schedules rather than waiting for problems to develop. Proactive testing costs far less than emergency repairs and system downtime. Take the time to test properly, document thoroughly, and address issues promptly for reliable long-term performance.