Dos and Don’ts of De-Pinning and Re-Pinning Connectors
Connector maintenance demands precision. One wrong move during de-pinning or re-pinning can damage expensive components, create unreliable connections, or cause complete system failure. Whether you’re working with automotive harnesses, industrial equipment, or electronic assemblies, understanding the dos and don’ts of de-pinning and re-pinning connectors will save you time, money, and frustration.
This comprehensive guide covers the essential practices that separate professional results from amateur mistakes. You’ll learn the steps for clean pin removal, proper reinstallation, and long-lasting connections.
Do: Use the Correct Extraction Tool for the Connector Type
The connector type determines the extraction tool you should use. For instance, Molex connectors require different extraction tools than Deutsch connectors. In addition, JST connectors need specialized extractors. Using the wrong tool can damage the retention mechanism, deform the contact, or break the connector housing.
Professional extraction tools have precise dimensions that match the internal geometry of the connector. They engage the retention clips at the correct angle and apply force in the right direction. The pin should release cleanly without damaging surrounding components.
Keep a complete set of extraction tools organized by connector family. Label each tool clearly and store them in protective cases so that you don’t grab the wrong tool during repairs.
Don’t: Force Stuck Pins
Stuck pins may tempt you to apply too much force. Excessive pressure breaks retention clips, cracks connector housings, or deforms the pin beyond repair. The connector becomes unusable, and you’ve created a bigger problem than you started with.
Stuck pins usually indicate contamination, corrosion, or improper tool engagement. If you feel resistance, inspect the pin and the surrounding area for debris. Then, clean the connector cavity with appropriate solvents and verify your extraction tool is seated and that it engages the retention mechanism.
Sometimes, pins become stuck due to manufacturing tolerances or age-related changes in the plastic housing. Consistent pressure, combined with a slight wiggling motion, releases stubborn pins without causing damage.
Do: Inspect Pin Condition Before Reinstallation
Pin inspection prevents future failures. Examine each pin for cracks, corrosion, deformation, or wear patterns where electrical connections are made. Also, check the retention features that hold the pin in the connector body.
Document the pin conditions during inspections so that you can identify recurring problems or deteriorating connection quality over time. Patterns in pin wear often reveal underlying system issues that need attention.
Don’t: Reuse Damaged or Worn Retention Clips
Retention clips hold pins securely in connector bodies. Damaged clips allow pins to back out during service, creating open circuits and system failures. They also reduce retention force, making connections unreliable under vibration or thermal stress.
Extraction tools sometimes damage retention clips during pin removal. Inspect each clip carefully for bent tangs, cracked plastic, or deformed metal springs before reinstallation. Replace damaged retention clips immediately. The cost of new clips is minimal compared to the expense of tracking down intermittent connection problems later. We recommend keeping spare clips for all connector types in your inventory.
Do: Clean Connector Cavities Thoroughly
Dirt, oil, moisture, or corrosion products interfere with pin seating and retention. Clean cavities ensure smooth pin insertion and reliable long-term performance. Use appropriate cleaning solvents for your application. Isopropyl alcohol works well for general cleaning, and specialized contact cleaners remove stubborn contamination. It’s best to avoid solvents that degrade plastic connector bodies or leave residues.
Compressed air removes loose debris from cavity walls and areas around retention clips. Trapped moisture causes corrosion and degradation of connections, so follow up with solvent cleaning using lint-free cloths or swabs before pin installation.
Don’t: Install Pins in the Wrong Cavity Positions
Installing pins in incorrect cavities creates wrong connections, short circuits, or system malfunctions. Double-check pin locations against wiring diagrams before installation. Connector position assurance (CPA) devices and terminal position assurance (TPA) devices prevent incorrect installations. These components physically block improper pin positions or incomplete insertions. Use these devices whenever they’re specified for your connector type.
Mark pin positions clearly during disassembly, and photograph complex connectors before de-pinning. Create detailed notes showing which pin goes in which cavity to prevent confusion during reassembly.
Do: Verify Pin Seating and Retention
Properly seated pins click into place and resist withdrawal force, so test each pin after installation to confirm retention. Incomplete seating creates high-resistance connections that generate heat and eventually fail.
Pull gently on each wire to verify the pin is fully seated and retained. Newly installed pins should not move when force is applied to the wire. Pins that slide or rotate indicate an incomplete installation or a damaged retention mechanism. Correctly installed pins sit flush with the rear face of the connector body, while protruding pins indicate incomplete insertion. Recessed pins might be damaged or installed in oversized cavities.
Don’t: Neglect Wire Strain Relief Requirements
Wire strain relief protects the pin-to-wire connection from mechanical stress. Without strain relief, wire movement transfers directly to the pin connection, causing fatigue failures and intermittent connections. Boot assemblies, strain relief sleeves, and cable clamps distribute mechanical loads away from electrical connections. We recommend using the strain relief components specified for your application.
Route wires to minimize stress on connector assemblies, and avoid sharp bends near connectors. In addition, secure wire harnesses to prevent movement that could stress individual connections for the sake of long-term reliability.
Do: Test Connections After Reassembly
Use appropriate test equipment to measure resistance, continuity, and insulation integrity. Continuity testing confirms electrical paths through reassembled connectors. Low resistance readings indicate good connections, while high resistance or open circuits reveal installation problems or damaged components.
Insulation resistance testing verifies isolation between adjacent circuits. This test detects issues such as damaged wire insulation or contaminated connector cavities that could lead to short circuits.
Don’t: Skip Documentation of Repair Procedures
Documentation supports future troubleshooting. Record connector types, pin positions, replacement parts, and test results. Keeping maintenance logs also helps you identify recurring connector problems or deteriorating harness conditions. Patterns in repair frequency or component failures often reveal underlying system issues requiring attention. Include photographs of the connector conditions before and after repair.
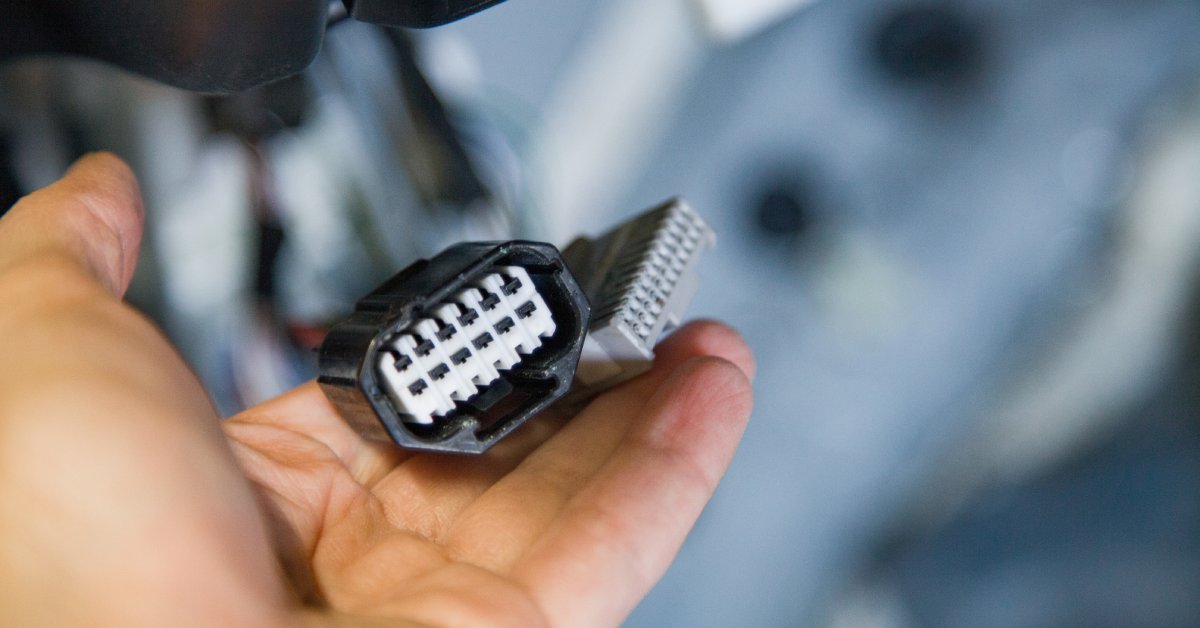
Visual documentation supplements written records, helping technicians understand problem patterns. When working with a 10-pin connector pigtail or similar assemblies, detailed photos become especially valuable for complex pin arrangements.

Mastering Connector Maintenance for Long-Term Success
Following these dos and don’ts of de-pinning and re-pinning connectors can result in successful repairs and prevent rework.
Connector technology will continue evolving, so stay current with new connector types, improved tools, and updated procedures. Manufacturers regularly release technical bulletins and training materials that help you maintain expertise in this critical skill area. The difference between amateur and professional connector work lies in the consistent application of proven techniques. Master these fundamental practices, and you’ll handle any connector maintenance challenge with confidence!