Everything To Know About Replacing Automotive Connectors
Everything To Know About Replacing Automotive Connectors
When your automotive connectors start to fail, you need to replace them promptly in order to ensure your vehicle’s safety and functionality. If you’re unfamiliar with the process, it can seem daunting. This guide provides detailed steps on everything to know about replacing automotive connectors.
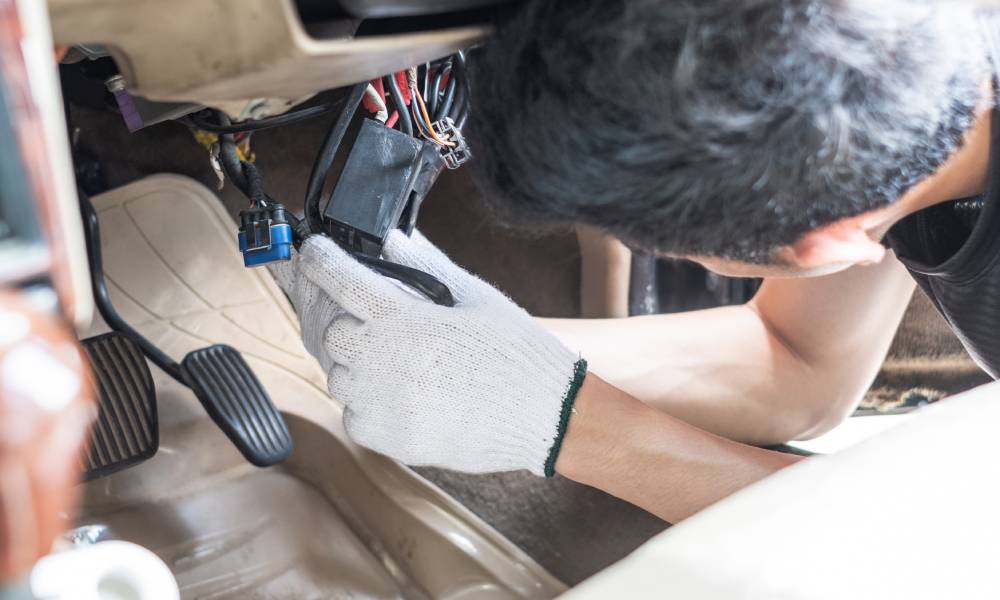
Prioritize Safety
Safety should always be your foremost concern when working on a vehicle. Ensure the battery is off and disconnected before you examine the electrical areas of a car. As you evaluate the connector and electrical area, wear insulated gloves for protection against electrical shock.
Pro Tip
Wear eye protection if you need to solder wires onto terminals, and keep the workspace well-ventilated.
Gather the Essential Tools
Having the right tools on hand can streamline the replacement process. Here’s a list of must-have tools:
- Wire strippers and crimpers to prepare and secure wire ends.
- Heat shrink tubing and electrical tape to insulate and protect connections.
- Multimeter to test the continuity and voltage, ensuring the new connector is functional.
- Connector removal tool to disengage old connectors without damage.
- Soldering iron and solder to create a reliable connection if crimping isn’t sufficient.
The tool you’ll need may vary depending on the type and complexity of the connector you need to replace. Always consult the vehicle’s manual for additional information on installing a new automotive connector.
Purchasing the Right Automotive Connector
Choosing a suitable automotive connector ensures your vehicle’s electrical system functions seamlessly. Here are some tips for making the right purchase:
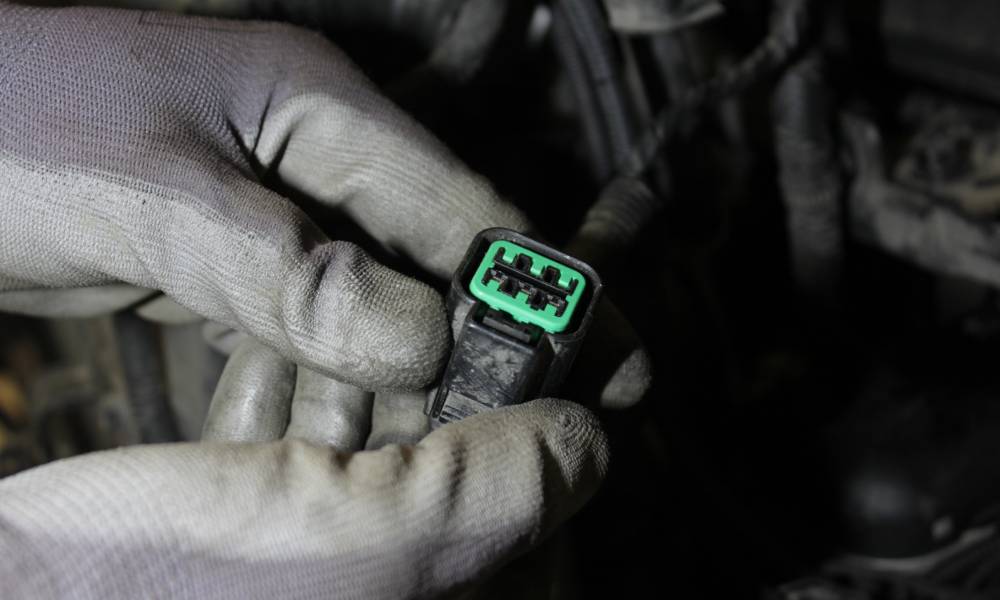
Analyze the Shape
One of the easiest ways to narrow your search is by noting the exact shape of the one you’re replacing. Once you remove the connector, evaluate it from all angles. Does it appear round, flat, or square? Jot down the shape, and use it as a reference when shopping for a new connector.
Keep in mind that shape is not the only detail to note when shopping for a replacement connector. You should also pay attention to the connector’s size and number of terminals.
Count the Number of Pins
Automotive connectors vary widely in pin numbers, from simple two-pin connectors to complex multi-pin configurations. Each pin corresponds to a specific wire and electrical function, so get an accurate count.
Smaller cars, such as sedans, often rely on 4-pin connectors; larger vehicles, such as trailers and semis, use 8-pin electrical connectors. If you’re unsure about what your car uses, consult the service manual or the existing connector’s schematic. Matching the pin count supports all electrical connections, avoiding potential malfunctions.
Note Your Vehicle Specifications
Vehicle make, model, and year can influence the type of connector it uses. Refer to your vehicle’s manual or service documentation for detailed information about the required connector. In some cases, manufacturers provide part numbers that can simplify your search. Accurate vehicle specifications guarantee compatibility and reliable performance.
Consider the Electrical Area
Different areas of the vehicle may demand specific connectors based on their electrical load and environmental exposure. For instance, connectors in the engine bay must withstand higher temperatures and vibrations than those in the cabin. Choose connectors made from durable materials, like thermoplastic or metal, that can endure harsh conditions.
Additionally, the shape and number of connectors’ pins can vary from one electrical area to another, so consider this when selecting a replacement.
Evaluate Current and Voltage Requirements
Understanding the circuit’s current and voltage requirements is critical for selecting the ideal connector. The voltage should match the vehicle’s electrical system, and the current capacity should be sufficient to handle the electrical load. Check your vehicle’s manual for this information, or measure it with a multimeter.
Pro Tip
Exceeding these ratings can lead to overheating and failure, which could damage the vehicle’s electrical system.
Purchase From Reliable Suppliers
Authorized dealers and reputable online platforms offer genuine products and customer support. Avoid unbranded or after-market connectors from dubious sources, as they may be of inferior quality and could compromise your vehicle’s performance. Always buy from a connector manufacturer that sells authentic OEM automotive connectors.
Pro Tip
Connector Experts sells genuine automotive connectors that meet the electrical needs of various vehicle types.
How To Replace a Connector
One of the most important things to know about replacing automotive connectors is how to remove the damaged component and install the new one. The process typically involves these steps:
1. Disconnect the Battery
Always disconnect the vehicle’s battery before working on the electrical system to avoid potential hazards. This simple step can prevent accidental electric shocks, short circuits, and fires. Use insulated tools to remove the negative cable from its terminal, and don’t accidentally touch any other metal parts.
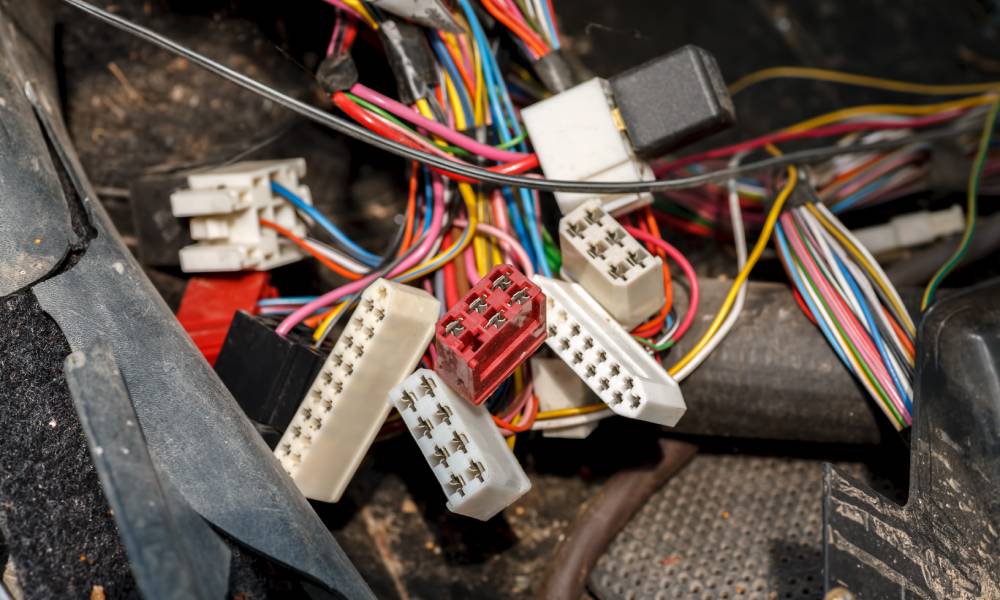
2. Remove the Faulty Connector
Next, remove the damaged connector. If available, use a removal tool to disengage the clips and release the connector from its housing. Then, inspect the wires for damage or wear. Replace any damaged wires as needed to prevent future electrical issues.
3. Prepare the Wires
If your new connector is not pre-wired, prepare the wires before installation. Use wire strippers to remove approximately 1/2 inch of insulation from each wire end. Twist the exposed copper strands, and crimp them into a terminal for added strength and stability.
4. Install the New Connector
Insert the prepared wires into their designated terminals on the new connector, following any specific instructions provided by the manufacturer. Manufacturers often color-code the wires and terminals of the connector. In a four-wire system, for example, a blue wire would go into a blue terminal, a yellow wire into a yellow terminal, and so on.
Secure them in the terminals using a crimping tool. If you need to solder the wires, apply heat shrink tubing over the wire connections before soldering to provide insulation and protection.
5. Test the Connection
Check for continuity and voltage to ensure the connection is functional. Then, reconnect the car battery, and perform a final check by starting the vehicle and verifying that the replaced connector works as expected.
If you still notice electrical issues, double-check the wiring and connection. If everything appears correct, inspect other areas of the car to determine the root of the problem.
Shop at Connector Experts
Buy quality OEM automotive connectors from Connector Experts. With a wide selection of genuine products and expert customer support, we can help you find the exact connector you need. Shop now, and enjoy reliable performance and peace of mind on the road ahead.