Identifying Wire Colors in 7-Cavity Car Connectors
When electrical problems show up in a vehicle, connector identification usually sits near the top of the troubleshooting checklist. A technician can save a great deal of time by recognizing wire colors and understanding what those colors may represent within a circuit. If you're preparing for a repair, take time to review connector details before disconnecting anything.
That extra effort can lead to cleaner diagnostics and more accurate repairs. Identifying wire colors in 7-cavity car connectors starts with a solid understanding of how automotive wiring systems are organized. Use the guide below to learn the essentials today.
Why Wire Colors Matter
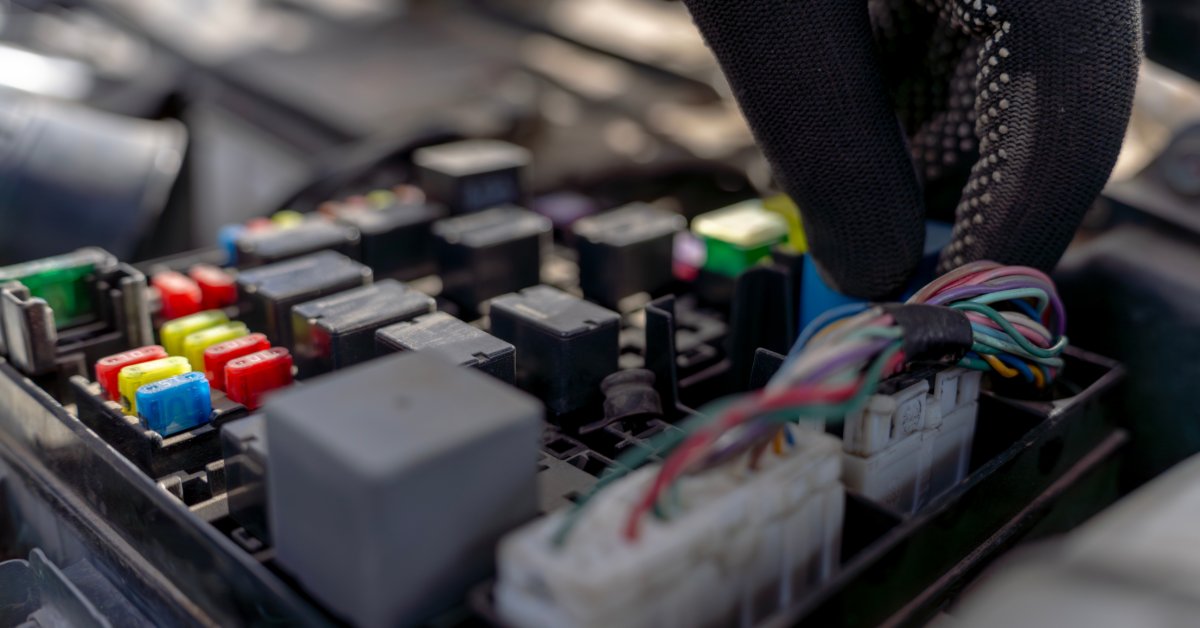
A 7-cavity connector contains seven individual terminal positions within a single housing. Manufacturers use these connectors throughout modern vehicles to connect sensors, lighting assemblies, control modules, switches, and other electrical components. Although the connector housing may appear straightforward at first glance, the wire colors attached to each cavity can reveal valuable information about circuit function and routing.
Automotive wiring harnesses contain many wires that travel throughout a vehicle. Without a color-coding system, tracing individual circuits would become a frustrating task. Wire colors provide a visual reference that helps technicians distinguish one circuit from another.
For example, a connector attached to a lighting module may contain separate wires for power, ground, turn signal operation, brake lights, and communication circuits. Each wire color helps identify its role within the system. When a technician compares the connector to a wiring diagram, color identification becomes one of the fastest ways to verify circuit placement.
This approach becomes even more valuable during collision repairs or harness replacements. Damaged wires can lose labels, but color patterns frequently remain visible. A quick color comparison will help confirm that repairs match factory specifications.
Understanding Solid Colors and Stripe Colors
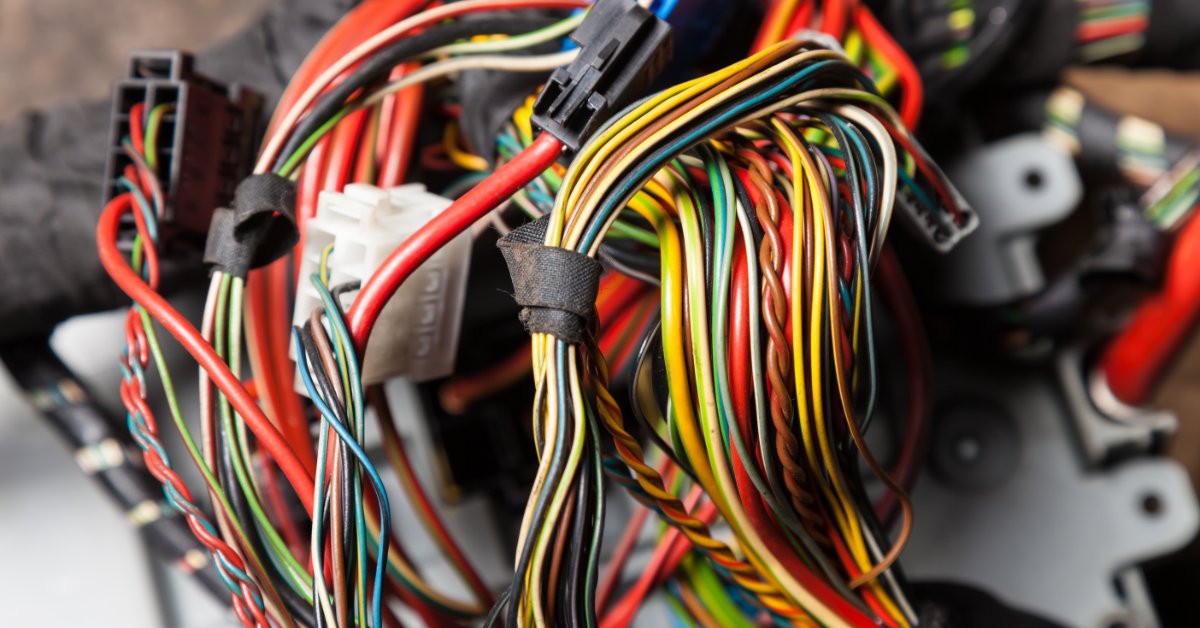
Not every wire uses a single color. Many automotive manufacturers rely on a combination of base colors and stripe colors to create a larger range of unique wire identifiers. A solid-color wire consists of one color from end to end. Examples include black, red, blue, yellow, green, or white. These wires are easy to recognize and commonly appear in many vehicle systems.
Stripe-colored wires use a primary color combined with a secondary stripe. A blue wire with a white stripe differs entirely from a white wire with a blue stripe. Although the colors appear similar at first glance, they represent different circuits and must be identified correctly.
This distinction becomes particularly useful inside 7-cavity connectors because multiple wires may share similar base colors. Stripe patterns help eliminate confusion when several circuits enter the same connector housing.
Common Wire Colors Found in Automotive Connectors
Automotive manufacturers do not follow a single universal color standard. Even so, several colors appear frequently across various vehicle platforms. Black wires commonly connect to ground circuits. These wires provide the return path for electrical current and appear throughout nearly every wiring harness.
Red wires frequently carry battery voltage or power feeds. In many applications, a red wire connects directly to a fused power source. Yellow wires may support supplemental restraint systems, sensor circuits, or specialized control functions, depending on vehicle design. Extra caution should accompany any work around yellow wiring associated with airbag systems.
Blue, green, white, brown, orange, and gray wires appear in countless applications ranging from lighting systems to communication networks. Their exact purpose depends on manufacturer specifications and vehicle design. Color alone should never serve as the sole basis for a repair decision. Wiring diagrams and connector pinouts remain the most reliable sources for confirmation.
Reading a 7-Cavity Connector Correctly
Connector orientation plays a major role in wire identification. A technician can easily misidentify cavity positions if the connector faces the wrong direction during inspection. Most connector housings include cavity numbers molded into the plastic. These markings may appear small, yet they provide an accurate reference point for locating each wire position.
Before recording wire colors, verify the connector's orientation and locate the cavity numbering system. For instance, cavity one may contain a black ground wire, cavity two a red power wire, and cavity three a blue signal wire. Rotating the connector during inspection can create a completely different interpretation of the layout. A consistent viewing angle helps prevent unnecessary confusion and promotes accurate documentation.
Practical Examples During Diagnostics
Identifying wire colors in 7-cavity car connectors is easier when you have some practical examples. Imagine a vehicle with an intermittent sensor fault. A scan tool identifies a communication problem, but the sensor itself passes inspection. Attention then shifts toward the connector.
Inside the 7-cavity connector, a technician notices discoloration around a green wire with a white stripe. Corrosion has developed inside the terminal, restricting signal flow. Because the wire color matches the wiring diagram, the technician quickly identifies the affected circuit and repairs the connection.
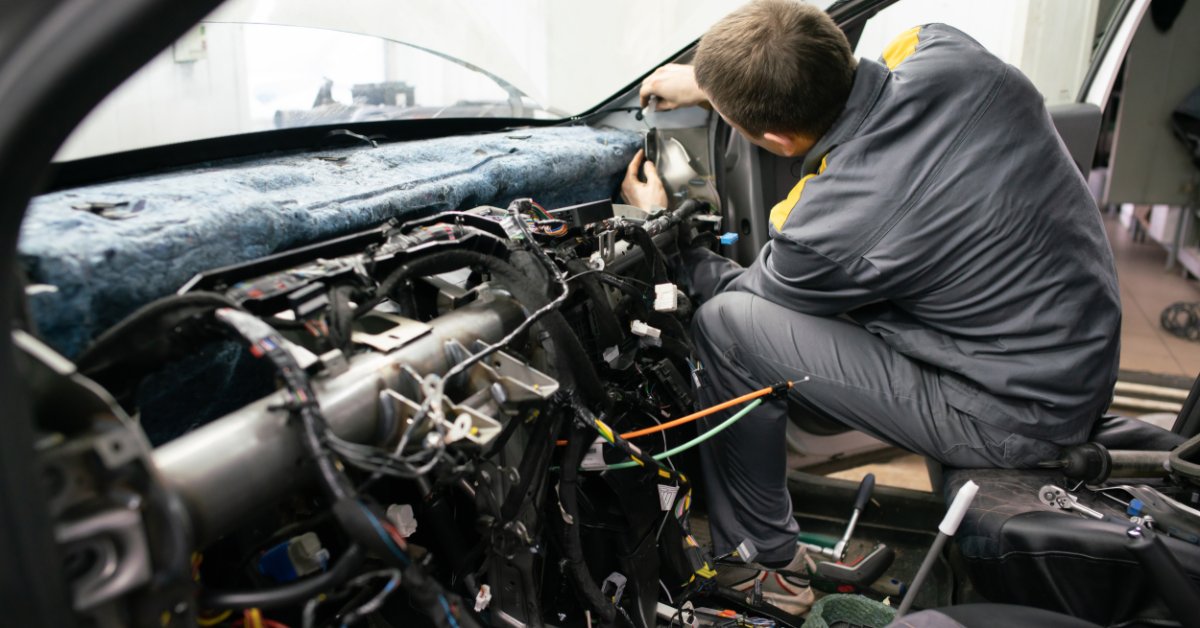
In another situation, a collision repair facility receives a vehicle with harness damage near the front bumper. Several wires have become detached from a connector housing. By comparing wire colors, cavity positions, and factory diagrams, technicians can reconstruct the connector accurately and restore normal operation. These examples highlight the practical value of proper wire identification.
Challenges That Can Affect Color Identification
Vehicle age can complicate connector inspections. Heat exposure, moisture, dirt, and chemical contamination may alter wire appearance over time. Faded insulation presents one common challenge. A once-bright wire may appear dull after years of exposure beneath the hood.
Dirt accumulation can create similar confusion by masking stripe patterns and reducing color contrast. Poor lighting can create additional problems. Colors such as gray, white, light green, and tan may appear nearly identical under weak shop lighting. A bright inspection light will dramatically improve accuracy.
Best Practices for Identifying Wire Colors
A systematic approach produces the most reliable results. Begin by cleaning the connector surface and removing any debris that may obscure wire colors. Next, inspect the connector under bright lighting. Good visibility reduces the chance of misidentifying stripe patterns or faded insulation. Magnification tools can also help when working with smaller connector designs.
Photographs provide another useful reference. Taking a clear image before disconnecting a 7-cavity connector creates a permanent record of wire placement. If questions arise during reassembly, the photograph can serve as a quick reference.
Finally, compare wire colors with factory wiring diagrams whenever possible. Color identification works best when paired with documented circuit information. Shop for 7-pin wire connectors today so you can use the information above to keep vehicles running reliably.
Technicians who develop strong wire-identification habits tend to complete repairs with greater accuracy and confidence. A careful inspection process can reduce guesswork, shorten diagnostic time, and help avoid unnecessary component replacement. Before your next electrical repair, spend a few extra minutes reviewing connector layouts and wire color assignments. That investment can lead to cleaner repairs, more dependable results, and a smoother path to solving electrical faults.