
Repairing Automotive Wiring With 3-Pin Connectors

Electrical trouble can stop a vehicle in its tracks, but a damaged connector doesn't always call for a complete wiring harness. Repairing automotive wiring with 3-pin connectors gives technicians and vehicle owners a practical way to restore reliable electrical performance without replacing far more than the damaged section. A quality connector, paired with the right repair method, can bring a circuit back to life and help a vehicle return to the road with confidence. Let’s discuss how you can start making effective repairs today.
Know the Role of a 3-Pin Connector
A 3-pin connector joins three separate electrical circuits inside one compact housing. Many automotive systems rely on this design, from sensors and switches to lighting assemblies and engine components. Every terminal has a specific purpose, so correct wire placement matters from start to finish. A misplaced wire can create new electrical problems even after the damaged connector leaves the vehicle.
Before any repair begins, compare the replacement connector with the original part. Pin locations, terminal style, locking tabs, and seal design should match the factory connector as closely as possible. That extra attention saves time later and prevents unnecessary troubleshooting.
Locate the Source of the Damage
Not every electrical issue starts inside the connector itself. Dirt, moisture, vibration, road salt, and engine heat can damage both the housing and the wires leading into it. A visual inspection usually reveals cracked plastic, green corrosion, bent terminals, or broken locking clips. Take a close look at the wire insulation as well. Damage may extend several inches beyond the connector body. If worn wire stays in place, the repair may fail long before the vehicle reaches its next service interval.
Disconnect Power Before Repairs
Safety deserves a place at the top of every repair plan. Disconnect the battery before touching any electrical connector. That step protects sensitive electronics and lowers the chance of an accidental short circuit.
After battery power has been removed, unplug the damaged connector with care. Never force a stubborn connector apart. Release tabs and locks as designed so nearby components stay intact.
Remove Damaged Wire Carefully
Clean cuts produce better repairs. Trim damaged wire back until fresh copper appears inside the insulation. Dark discoloration or brittle strands point to corrosion that should not remain inside the circuit.
Leave enough wire length for a secure connection to the replacement connector. If extra wire becomes necessary, use automotive-grade wire that matches the factory gauge and insulation type. Consistent wire size helps electrical components receive proper voltage.
Match Every Wire to the Correct Terminal
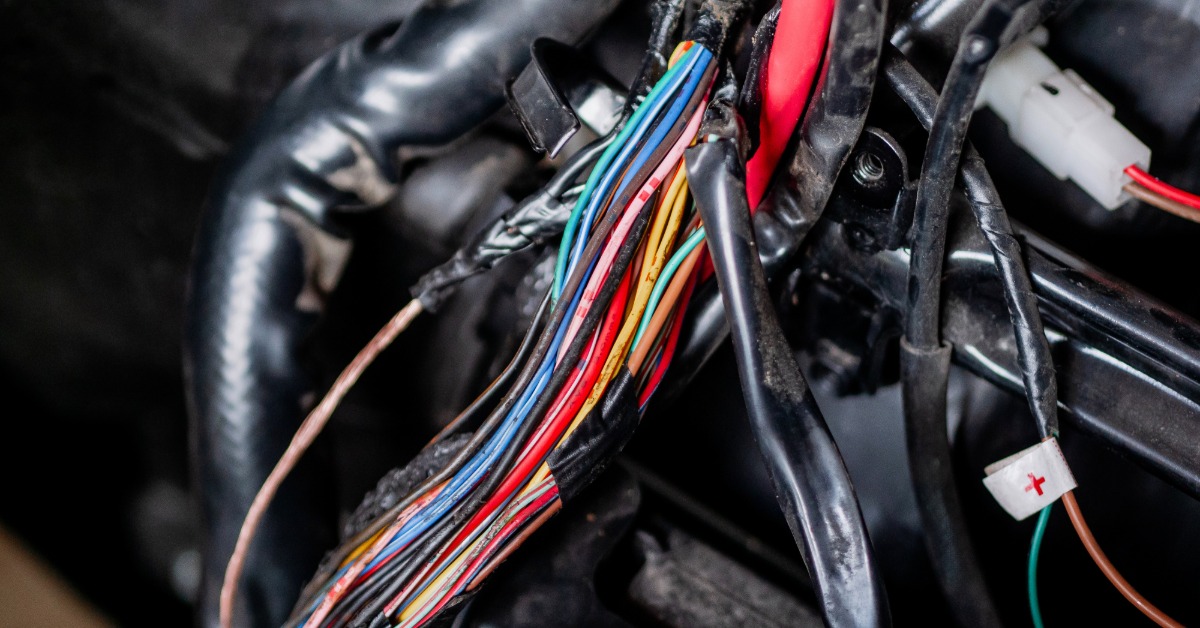
Wire colors provide helpful guidance, though they should never become the only reference point. Compare the original connector layout before removing every wire. Taking a photo ahead of time can prevent unnecessary confusion later.
Many technicians replace one wire at a time whenever possible. That habit keeps terminal locations organized and reduces the chance of crossed circuits. Small details like this save far more time than rushed repairs.
Use Quality Crimp Connections
A proper crimp creates a durable mechanical and electrical connection. Cheap tools or poor-quality terminals may leave loose connections that fail after normal vehicle vibration. Professional crimp tools apply even pressure across the terminal for consistent results.
After every crimp, perform a gentle pull test. The wire should remain firmly attached without movement. That quick check helps catch mistakes before the connector goes back into service.
Protect the Repair From Moisture
Repairing automotive wiring with 3-pin connectors requires attention to moisture. Vehicles operate through rain, snow, mud, road salt, and constant temperature changes. Moisture can enter damaged connectors and begin corrosion long before electrical symptoms appear.
Weather-resistant connectors and seals add another layer of protection. Dielectric grease also helps reduce corrosion on many connector applications. A light coating protects terminal surfaces without interfering with electrical contact when applied correctly.
Route the Wiring With Care
Connector repairs involve more than electrical contact alone. Wire routing deserves just as much attention. Keep repaired wiring away from sharp metal edges, moving suspension parts, steering components, and exhaust heat.
Factory clips and retainers exist for a reason. Reuse them whenever possible so the repaired section stays secure throughout everyday vehicle operation. A loose harness can suffer damage far sooner than expected.
Test the Circuit Before Final Assembly
Reconnect the battery after the repair reaches completion. Test the affected component several times instead of checking it only once. Consistent operation shows that every connection remains stable under normal use. If a scan tool applies to the repair, clear stored fault codes and verify that none return. That final confirmation provides extra confidence before the vehicle leaves the shop.
Verify Terminal Lock Engagement
A connector may look fully assembled even if one terminal hasn't locked into place. Before the repair reaches completion, give each wire a light tug to confirm every terminal stays seated inside the connector housing. If one terminal slides backward, electrical contact can become intermittent after the vehicle returns to daily use. A quick inspection at this stage helps avoid repeat repairs and saves valuable diagnostic time later.
Watch for Heat Damage Near the Repair
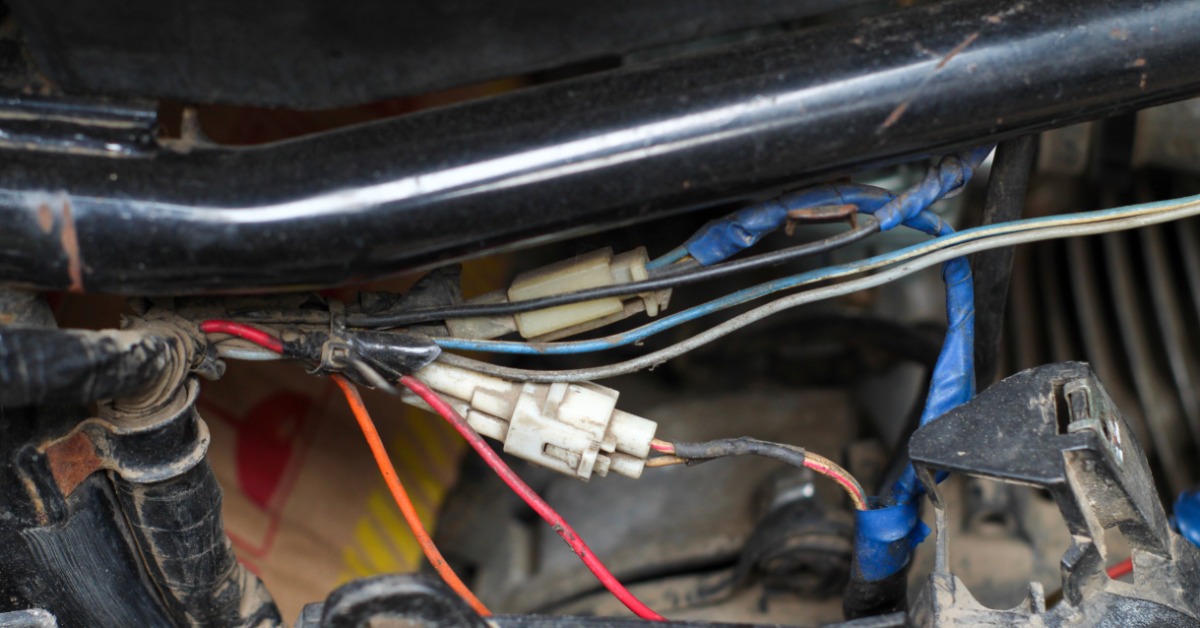
Excessive heat can shorten the life of both connectors and wiring. Areas near exhaust manifolds, turbochargers, radiators, and catalytic converters deserve extra attention during any wiring repair. If the factory harness uses heat shielding or protective loom, transfer that protection to the repaired section whenever possible. A few extra minutes spent on heat protection can help the connector withstand years of real-world driving conditions.
Replace Broken Connector Locks and Seals
The electrical terminals aren't the only parts that deserve attention. Broken locking tabs, damaged secondary locks, or worn rubber seals allow connectors to loosen or collect dirt and moisture over time. Replacing the entire connector assembly instead of reusing damaged plastic parts creates a stronger, longer-lasting repair. That approach also helps maintain a secure connection through vibration, rough roads, and changing weather conditions.
A careful repair restores far more than electrical function. It also helps reduce repeat failures, unnecessary parts replacement, and wasted diagnostic time. Every step, from wire preparation to final testing, contributes to dependable vehicle performance. When your next repair calls for durable replacement connectors, turn to Connector Experts for quality 3-pin connectors that help keep vehicles on the road.