Installing 10-Cavity Connectors in Wire Harnesses
Wire harnesses form the backbone of electrical systems across countless applications.
From automotive electronics to industrial machinery, these organized bundles of wires carry power and signals where they need to go. But here's the thing—without proper connectors, even the best wire harness becomes useless.
Installing 10-cavity connectors in wire harnesses might seem straightforward, but there's more to it than meets the eye. Get it wrong, and you'll face intermittent connections, voltage drops, or complete system failures
Get it right, and you've got a reliable connection that'll last for years.
This guide walks you through the entire process. Learn why 10-cavity connectors work so well, how to prepare for installation, and the exact steps to get perfect results every time.
Why 10-Cavity Connectors Excel in Wire Harness Applications
Ten-cavity connectors hit the sweet spot between functionality and manageability. They provide enough connections for complex circuits without becoming unwieldy during installation.
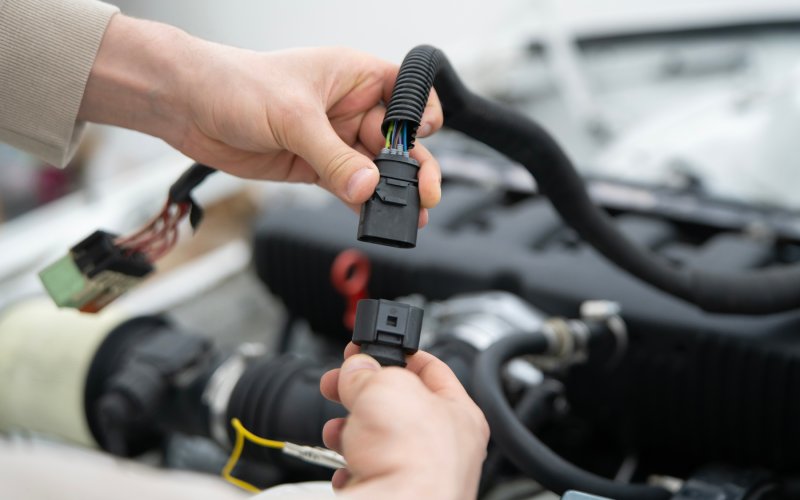
These connectors shine in automotive applications.
Think about your car's dashboard—it needs power for multiple gauges, lights, and switches. A 10-cavity connector can handle the speedometer, fuel gauge, warning lights, and more through a single connection point.
The compact design also makes routing easier. Instead of managing ten separate wires at connection points, you've got one neat connector that plugs in cleanly.
This reduces installation time and minimizes potential failure points.
Maintenance becomes simpler too. When troubleshooting electrical issues, you can quickly disconnect and test entire circuit sections.
No more hunting through individual wire connections.
Preparation: Setting Yourself Up for Success
Smart preparation prevents most installation headaches. Start by gathering your materials: the 10-cavity connector housing, terminals, wire strippers, crimping tools, and heat shrink tubing.
Check your wire gauge against the connector specifications.
Most 10-cavity connectors work with 16-20 AWG wire, but verify this before starting. Using the wrong gauge creates loose connections or prevents proper insertion.
Plan your wire routing carefully. Measure twice, cut once applies here.
Account for connector depth, strain relief, and any bends in your harness path. Add 2-3 inches of extra length—you can always trim later, but you can't add wire back.
Mark each wire clearly.
Use colored tape, labels, or a numbering system. This prevents crossed connections that can damage circuits or create safety hazards.
Step-by-Step Installation Process
You can easily pick up 10-pin connectors online right now. Once you have them by your side, you can start taking the proper installation steps.
Wire Preparation
Strip each wire to the exact length specified by your terminal manufacturer.
Too little exposed wire creates weak crimps. Too much creates short circuit risks.
Twist stranded wire ends tightly. Loose strands can cause connection problems or create shorts between adjacent terminals.
Inspect each stripped end for damage.
Nicked conductors reduce current capacity and create failure points. Re-strip damaged sections rather than hoping they'll work.
Terminal Crimping
Select the correct terminal type for your connector. Most 10-cavity connectors use blade-style terminals, but verify this with your specific part number.
Position the wire in the terminal crimp area. The insulation should rest against the strain relief tabs without gaps. The conductor should extend fully into the crimp zone.
Make your crimp with proper tooling.
Hand crimpers work for occasional use, but invest in quality ratcheting crimpers for regular work. They provide consistent pressure and prevent under-crimped connections.
Check each crimp by gently tugging the wire. A properly crimped terminal won't release the conductor under moderate pulling force.
If it slips, re-crimp with a new terminal.

Connector Assembly
Insert terminals into the connector housing one at a time. Most 10-cavity connectors have numbered positions—follow your wiring diagram exactly.
Listen for the click. Properly seated terminals make an audible snap when they lock into position. If you don't hear it, remove and try again.
Double-check terminal alignment.
Crooked terminals can prevent proper mating or cause connection problems. They should sit flush and straight in their cavities.
Test terminal retention before final assembly. Gently pull each wire to verify the terminals won't back out under normal stress.
Testing and Verification Best Practices
Visual inspection comes first. Look for proper terminal seating, correct wire routing, and no exposed conductors.
Fix any problems now before they become failures later.
Continuity testing confirms your connections work. Use a multimeter to verify each circuit path from wire end to connector pin. This catches crossed wires and poor crimps.
Check for shorts between adjacent pins.
Set your multimeter to resistance mode and verify infinite resistance between all pin combinations. Any low readings indicate potential short circuits.
Load testing validates your installation under real conditions. If possible, connect your harness to its intended load and verify proper operation.
This reveals problems that basic continuity tests might miss.
Troubleshooting Common Installation Issues
Terminals that won't seat properly usually indicate wrong terminal types or damaged connector housings. Verify part numbers and inspect for cracks or deformation.
Intermittent connections typically result from under-crimped terminals or corroded contacts. Re-crimp suspected connections and clean any oxidation from contact surfaces.
Connector housing damage typically happens during forced insertion.
If terminals don't slide in smoothly, stop and investigate. Forcing damaged components creates unreliable connections.
Wire Routing and Strain Relief Considerations
Proper wire routing protects your connections from mechanical stress.
Avoid sharp bends near the connector—use gradual curves instead. This prevents conductor fatigue and insulation damage.
Plan for thermal expansion.
Wire harnesses expand and contract with temperature changes. Leave some slack to accommodate this movement without stressing connections.
Secure the harness at regular intervals. Use appropriate clamps or ties, but don't over-tighten. Compressed wire insulation can crack and cause shorts.
Position connectors away from heat sources, moving parts, and sharp edges. Even quality connectors have environmental limits.
Protect them from conditions beyond their specifications.

Maximizing Connection Reliability Through Proper Techniques
Quality terminals make all the difference. Cheap terminals might save money upfront but cost more through failures and rework. Invest in high-quality components for critical applications.
Documentation saves time later. Create wiring diagrams and label your work clearly. Future troubleshooting becomes much easier with proper documentation.
Regular maintenance extends connector life.
Inspect connections periodically and clean contacts as needed. This prevents small problems from becoming major failures.
Your Path to Professional-Grade Harness Assembly
Installing 10-cavity connectors in wire harnesses doesn't require advanced degrees or expensive equipment. What it does require is attention to detail, proper preparation, and quality components.
Master these fundamentals, and you'll handle everything from simple automotive repairs to complex industrial installations.
Remember that practice builds confidence. Start with non-critical applications to develop your skills before tackling mission-critical harnesses.
Your electrical systems depend on solid connections. Take the time to do it right the first time, and you'll avoid the headaches that come with field failures and emergency repairs.