
Common Mistakes When Replacing Car Connectors
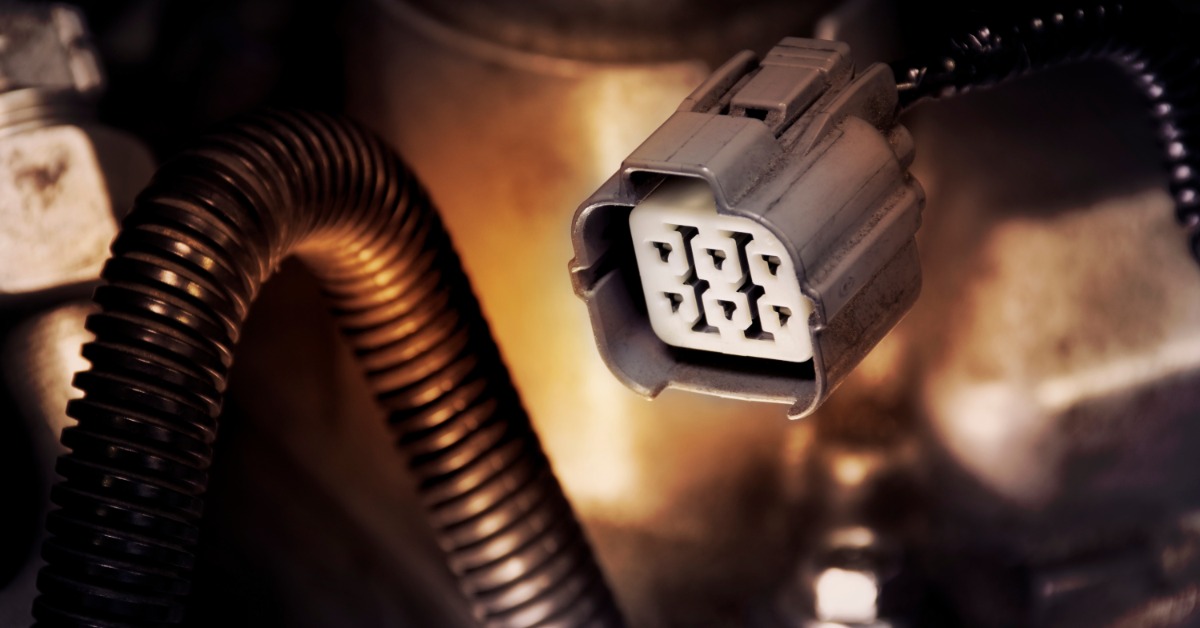
A damaged electrical connector can look like a small problem, but one poor repair can create faults far beyond the original issue. Loose terminals, crossed wires, weak crimps, and incompatible parts can turn a routine job into hours of diagnostic work. Common mistakes when replacing car connectors require close attention because modern vehicles rely on stable electrical contact across countless circuits. Get familiar with the common mistakes below so you can avoid them during every replacement.
Mistake 1: Choosing a Connector Based on Appearance Alone
Two connectors can look nearly identical from a few feet away. Even side by side, the differences may come down to terminal size, cavity layout, latch style, shape, or another small detail. Those differences can prevent a secure fit or create poor electrical contact.
Before installation, compare the original connector with the replacement in detail. Look at the number of cavities, terminal arrangement, connector shape, lock features, and wire size. For instance, you can find many different 8-pin pigtail connectors online. Vehicle make, model, year, and application can also narrow the search and help prevent a bad part choice.
Mistake 2: Cutting the Old Connector Off Too Soon
It’s tempting to grab the cutters as soon as a failed connector becomes obvious. That quick move can erase a useful reference for wire position and connector orientation. Once several similar wires sit loose in your hand, the repair becomes much harder to verify.
Document the original setup before any cuts take place. Photos from multiple angles can provide a clear reference, and labels can identify wires that look alike. A few extra minutes at this stage can save a great deal of diagnostic work later.
Mistake 3: Losing Track of Wire Position
Correct wire placement matters just as much as connector fit. A connector may snap into place perfectly and still cause trouble if one or more wires enter the wrong cavities. The result may include an inoperative component, fault codes, blown fuses, or confusing electrical symptoms.
Use the original connector and reliable service information as references for terminal location. Move deliberately from one circuit to the next rather than rely on memory. Wire color can help, but color alone shouldn’t serve as the sole reference for terminal position.
Mistake 4: Leaving Damaged Wire in the Repair
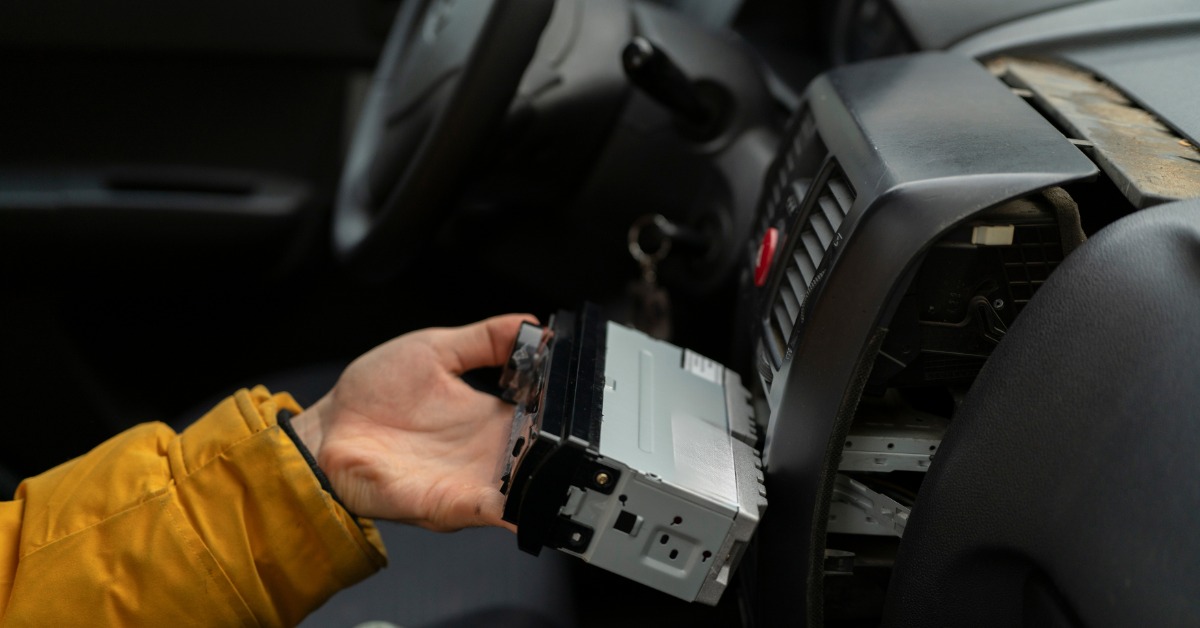
A failed connector isn’t always the only damaged part. Heat, corrosion, moisture, abrasion, or previous repairs may also affect the wire near the connector. Attaching a fresh connector to a compromised wire can leave the original electrical fault in place.
Inspect the exposed conductor and insulation before the new connector goes on. Wires with corrosion, heat damage, brittle insulation, or broken strands may need removal back to sound material. The finished repair should start with a wire that can support a stable mechanical and electrical connection.
Mistake 5: Using the Wrong Terminal or Crimp
The connector body gets most of the attention, but the terminals inside it do the electrical work. A terminal that doesn’t suit the connector or wire size can create a loose fit, excess resistance, or an unreliable circuit. The same problem can appear after a weak or distorted crimp.
Use terminals designed for the connector and appropriate for the wire gauge. The crimp should secure the conductor without excessive force that damages the terminal or wire. A firm mechanical connection gives the circuit a much better foundation for dependable service.
Mistake 6: Pulling on Wires During Assembly
Force rarely improves an electrical connector repair. A wire used as a handle can place stress on the terminal, conductor, insulation, or retention feature inside the connector. Damage may not appear immediately, so the repair can seem successful at first.
Handle the connector by its body whenever possible. After each terminal enters its correct cavity, verify that it has seated and locked into place. A gentle pull test can help confirm retention without subjecting the wire to unnecessary force.
Mistake 7: Ignoring Moisture and Contamination
Automotive connectors face a much harsher environment than electronics that stay indoors. Water, road debris, oil, heat, dirt, and chemical exposure can reach connectors across the engine compartment, underbody, wheel areas, and other exposed locations. A repair that overlooks seals or contamination can develop corrosion later.
Inspect seals and related protective parts before the job is complete. Dirt or corrosion left inside the connection can interfere with terminal contact. If the original application uses a sealed connector, the replacement should suit that environment and retain the proper protective components.
Mistake 8: Assuming Every Electrical Fault Comes From the Connector
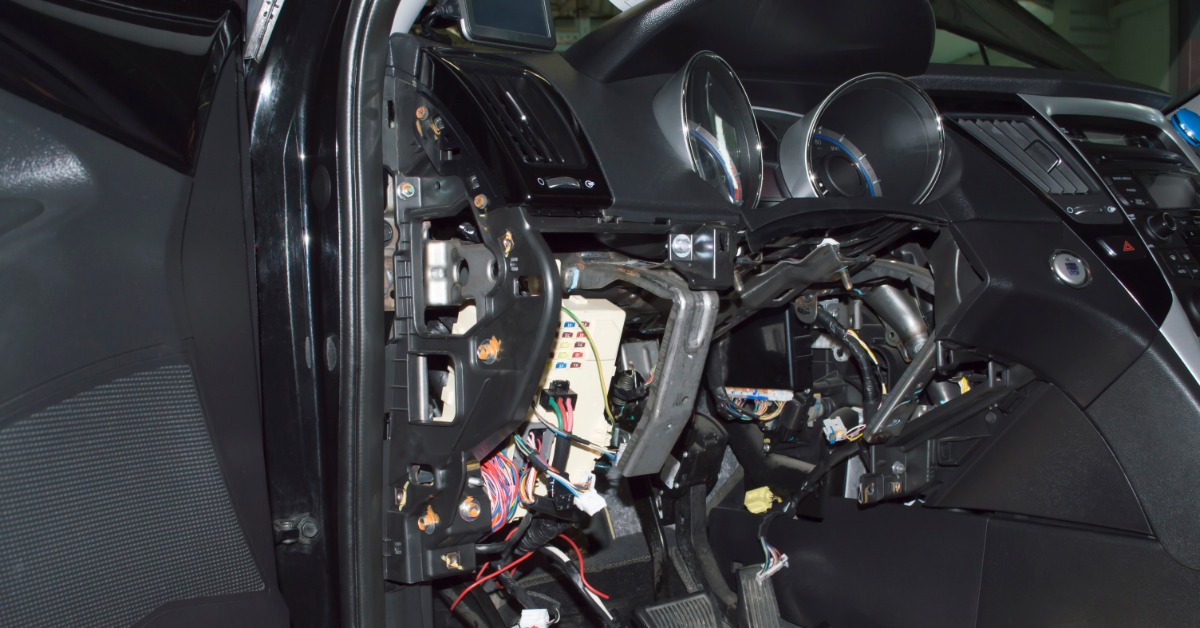
A burnt, cracked, or corroded connector may be easy to spot, but visible damage doesn’t always reveal the original cause. Excess current, a component fault, damaged wire, poor terminal contact, or heat from another source may have contributed to the failure. Replace the connector without further diagnosis, and the new part may suffer the same fate.
Check the related circuit and component rather than treat the connector as an isolated part. Evidence of melted plastic or overheated terminals deserves extra attention. The goal isn’t just to replace damaged material; it’s to restore a circuit that operates as expected.
Mistake 9: Skipping the Final Test
Another common mistake when replacing car connectors is rushing over the final test. A connector that clicks into place can create a satisfying end to the job, but physical fit doesn’t prove electrical performance. The circuit still needs a final check after the repair. This step can reveal loose terminals, incorrect wire placement, intermittent contact, or a fault elsewhere in the system.
Reconnect the circuit and verify proper component operation. Diagnostic procedures may also call for voltage, resistance, continuity, or scan-tool checks based on the vehicle and circuit. Complete the appropriate test before the vehicle returns to normal service.
Connector replacement rewards patience more than speed. Identify the correct part, preserve the original wire layout, inspect nearby wire, use suitable terminals, and test the circuit after the repair. Each step supports the next, so a disciplined process can prevent a small electrical repair from becoming a larger diagnostic problem. The right replacement connector also matters when the original part is difficult to source through a typical auto parts store or dealer. Remember the guide above if you want to search for the connector your repair requires and get the job back on track.